How to Make Leather Coaster
Share

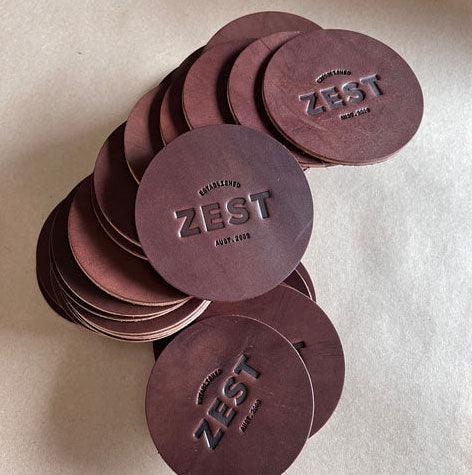
Leather coasters are not only functional, but they also add a touch of elegance to any home decor. Making your leather coasters is an easy and enjoyable DIY project. Here are the steps on how to make leather coasters:
Materials:
- Leather
- Cork sheet
- Scissors
- Ruler
- Pencil
- Craft knife
- Cutting mat
- Glue
- Hole punch
- Thread and needle
Instructions:
- Using a ruler and pencil, measure and mark a square shape on the leather. The square size will depend on your preference, but a 4x4 inch square is typical for coasters.
- Use the craft knife and cutting mat to cut out the square shape from the leather.
- Cut out a matching square shape from the cork sheet.
- Apply glue to one side of the cork sheet and attach it to the back of the leather square. Press firmly to ensure that the two materials are firmly stuck together.
- Use the hole punch to create a small hole in one corner of the leather coaster.
- Thread the needle and tie a knot at the end of the thread.
- Stitch around the edges of the leather coaster, making sure to go through both the leather and cork layers. Use a simple whip stitch or a blanket stitch for a decorative effect.
- Once you reach the hole you created in step 5, tie a knot with the thread and cut off the excess.
And that’s it! You now have a stylish and durable leather coaster you can use at home or give as a gift. Experiment with different leather types and stitching patterns to create coasters that reflect your style. Leather coasters are easy to maintain. Wipe them down with a damp cloth if they become dirty or stained. With some creativity and skill, you can make a set of custom leather coasters that will last for years.
