Replacing a RM Williams Belt: A Guide to Upgrading Your RM Williams Leather Belt

What could be better than a new RM Williams belt from the store??
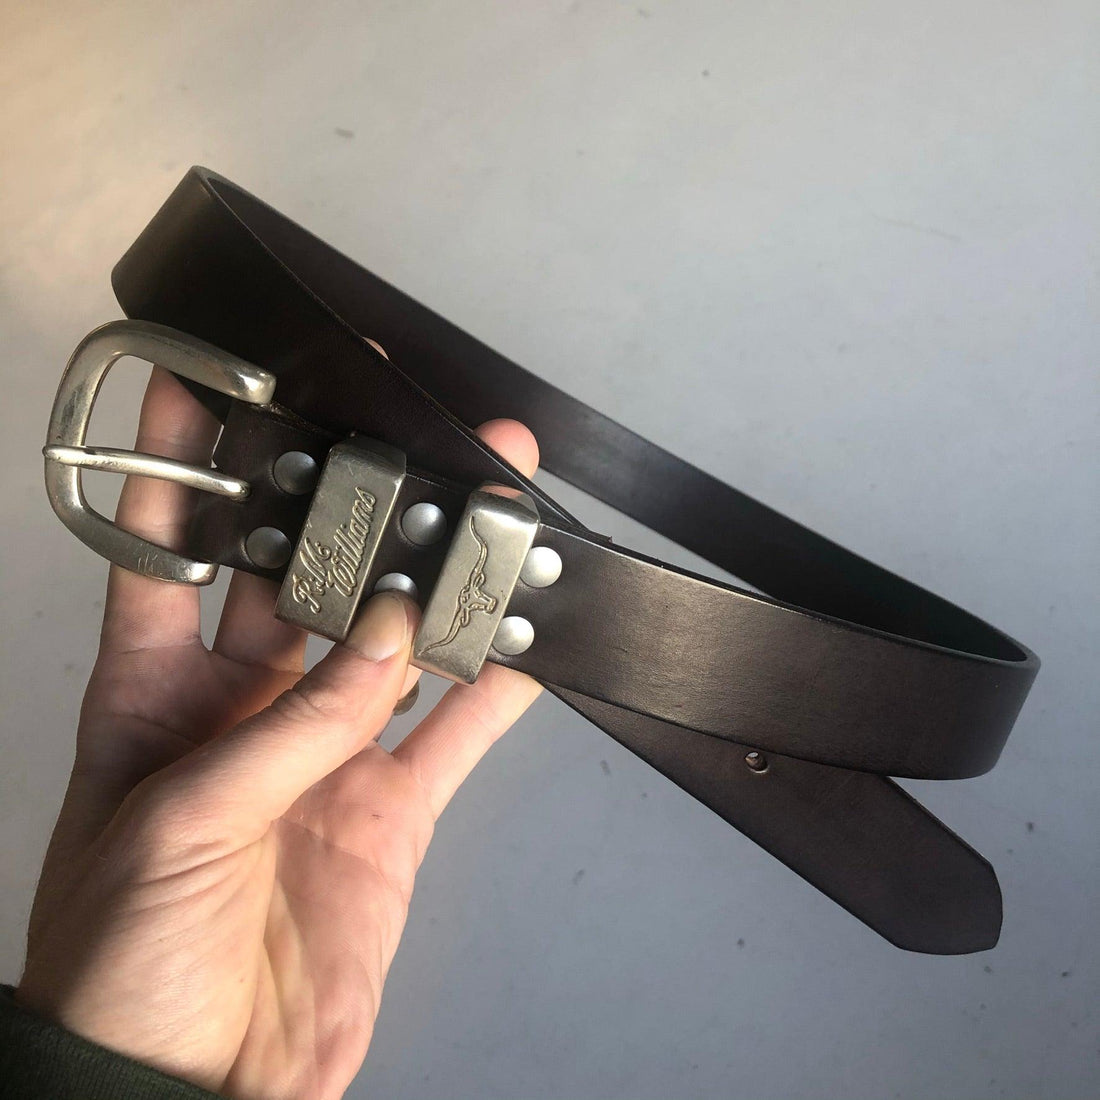
RM Williams is a well-known Australian brand that produces iconic leather goods, including belts.
However, over time, all belts suffer from wear and tear and may need to be repaired or replaced. One of the most common issues that RM Williams belt owners face is the leather splits and cracks. If you find yourself in this situation, don't worry! Replacing your broken belt with a new, higher-quality leather belt section is not only easy but also a great way to upgrade your belt.
If DIY isn’t your thing, make use of Anvil Hides “Bring your own buckle” service to do this for you!
Here's how to do it:
Step 1: Gather your materials
Before you get started, you'll need to gather the following materials:
- A new belt section (make sure it is the same width as your old belt, use higher quality leather like the bridle leather Anvil Hide uses)
- A leather punch
- A stitching awl
- Waxed nylon thread
- A needle
- Scissors
Step 2: Remove the old belt section
Start by removing the old belt section from your buckle. To do this, you'll need to remove the stitches that hold the belt in place. Use your scissors to carefully cut the stitches, being mindful not to damage the leather.
Step 3: Cut the new belt section
Next, cut the new belt section to the same length as your old belt. Make sure to take into account the extra length that will be needed to wrap around the buckle.
Step 4: Punch holes in the new belt section
Use your leather punch to make the holes for the stitches. Make sure to align the holes with the ones in your old belt.
Step 5: Stitch the new belt section (anvil hide uses removable Chicago screws rather than thread but thread can be used if you wish to match the original design)
Thread your needle with waxed nylon thread, and start stitching the new belt section to the buckle. Use the stitching awl to help guide the needle through the holes. Make sure to stitch tightly to secure the belt in place.
Step 6: Finish up
Once you've finished stitching, tie off the end of the thread and trim any excess. Your new belt section should now be securely attached to your buckle, and you're ready to put it to use.
In conclusion, replacing a broken RM Williams belt is a simple process that you can easily do yourself. By upgrading your belt with a new, higher-quality leather section, you'll not only restore its appearance but also prolong its lifespan.
Happy belting!

